Fun with AWS CDK & CDN
A lot of us build some hobby projects and then struggle to deploy them or maintain them. Therefore, we may always be looking for free (or almost free), reliable hosting providers. Luckily for static sites (pure HTML+CSS+JS) there are a few good CDNs available. This site itself is hosted on the Firebase CDN and I pay nothing for it. AWS CloudFront is another good alternative. AWS is the bread & butter cloud service provider for us developers so it is worthwhile to explore that option.
Ideally with API Gateway, Lambda, DynamoDB and CloudFront we can build and deploy many small projects and as long as the traffic is not so high we can get away with paying almost nothing. However, with this stack one needs to get down & dirty with some DevOps tooling. I personally prefer AWS CDK these days as I can program it in Python/TS and it does the job well.
In this post we will simply start with hosting a static site on CloudFront and see how easy it is with CDK. All we need is a few lines of configuration and we are all set. So let’s get started.
Domain
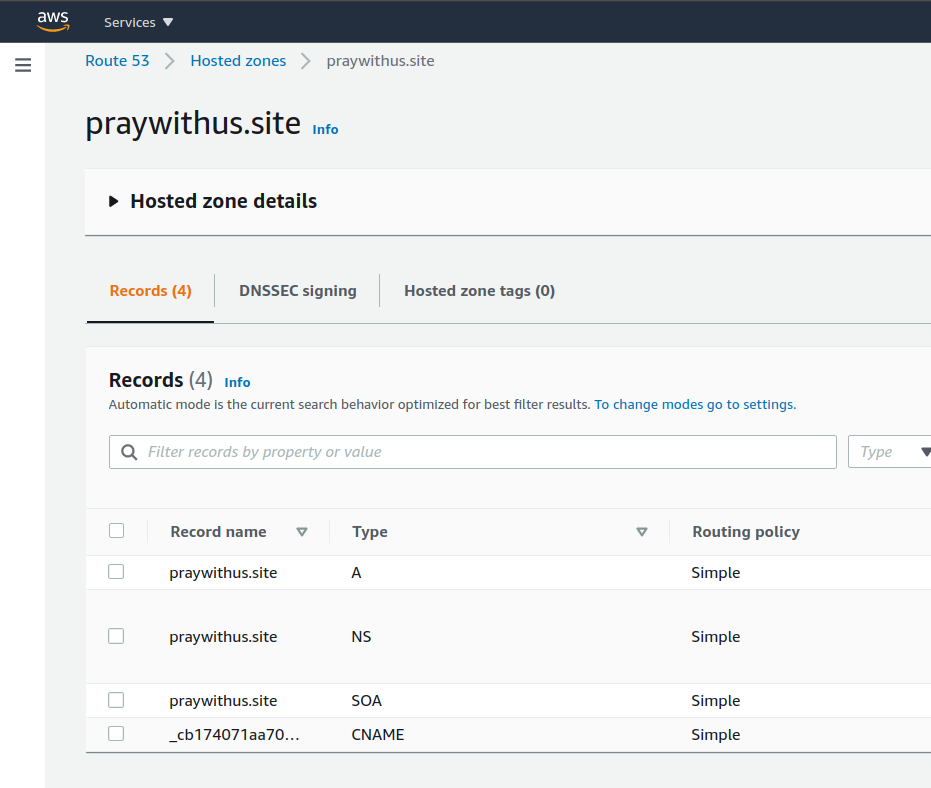
Having a domain is usually the first requirement for any web project. You can buy the domain from AWS Route53 or any other provider like name.com and create a hosted zone on AWS Route53.
A simple setup could look like -
IAM
To run our CDK scripts we also need an IAM user with the correct permissions. This user should have access to AWS S3, CloudFront, CloudFormation, Lambda and Route53. Sample setup is shown below -
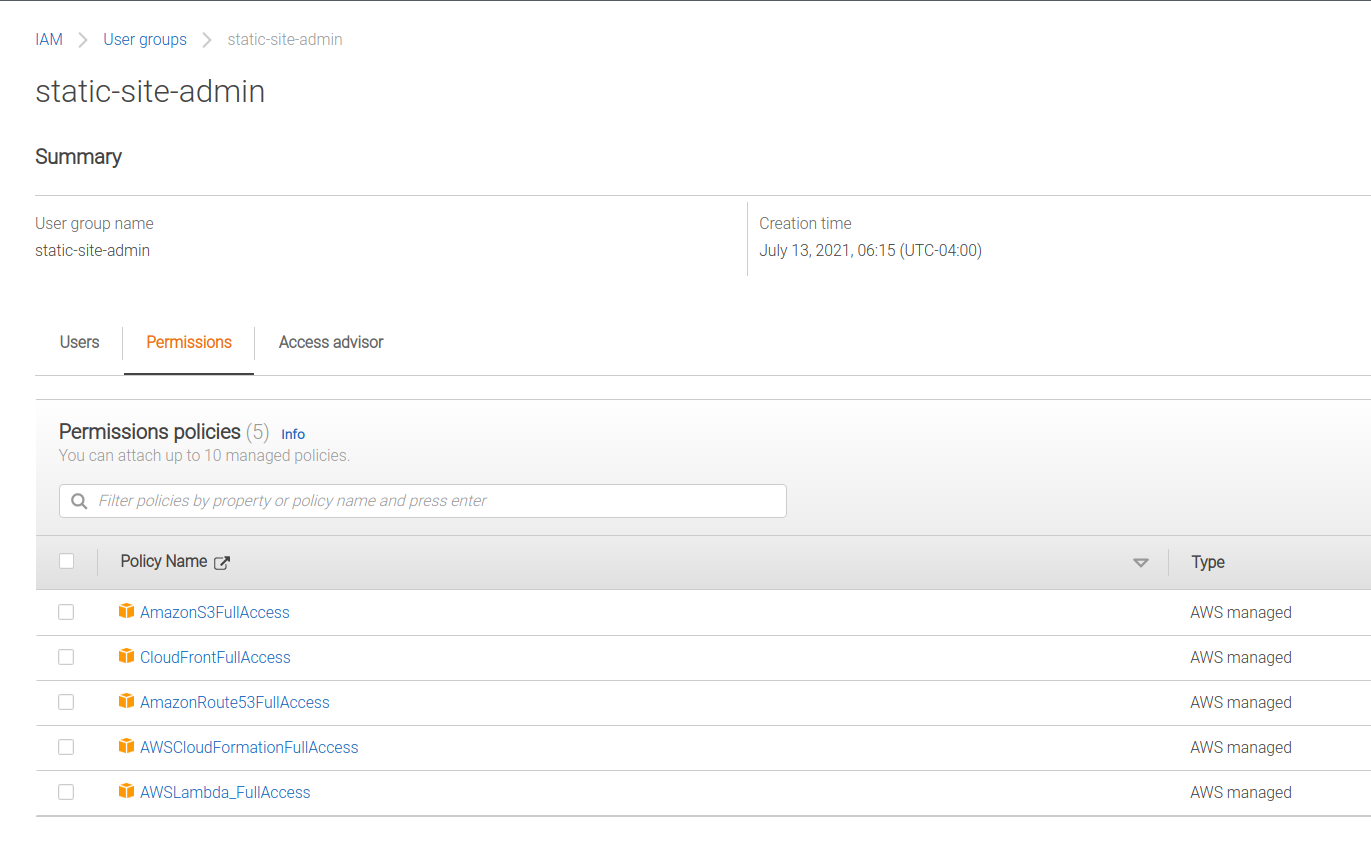
You can of-course make the permission/policies more granular.
CDK Code
This is the main code for building the stack on AWS and also allowing to it to be updated anytime. Luckily all this is done here -
https://github.com/rocky-jaiswal/static-site-cdk
Basically, the CDK code takes some static assets, stores them on a S3 bucket, then it uses the bucket for a CloudFront distribution with a modern HTTPS setup. That is it.
Static Site & CircleCI
Your static site can have any static assets. All we need to do is to point the CDK code at it and it will do the rest. For a simple React+Redux project, here is my CircleCI configuration -
version: 2
workflows:  version: 2  test_build_and_deploy:    jobs:      - test      - build:          requires:            - test      - deploy:          requires:            - build
jobs:  test:    docker:      - image: circleci/node:14    steps:      - checkout      - restore_cache:          key: v1-deps-{{ checksum "package.json" }}      - run: yarn install      - save_cache:          paths:            - node_modules          key: v1-deps-{{ checksum "package.json" }}      - run: yarn lint      - run: yarn test  build:    docker:      - image: circleci/node:14    steps:      - checkout      - restore_cache:          key: v1-deps-{{ checksum "package.json" }}      - run: yarn install      - save_cache:          paths:            - node_modules          key: v1-deps-{{ checksum "package.json" }}      - run: yarn build      - persist_to_workspace:          root: ~/project          paths:            - build  deploy:    docker:      - image: circleci/python:3.9.4    environment:      DOMAIN: praywithus.site      AWS_ACCOUNT_ID: '750324395434'      AWS_REGION: eu-central-1    steps:      # Packages      - run: git clone https://github.com/rocky-jaiswal/static-site-cdk.git      - run: sudo apt-get update && sudo apt-get install nodejs npm      - run: sudo npm install -g aws-cdk      # Site contents / build directory copy      - run: cd static-site-cdk && rm -rf site-contents/      - run: mkdir -p static-site-cdk/site-contents      - attach_workspace:          at: ./build      - run: cp -R ./build/build/* ./static-site-cdk/site-contents/      # AWS setup      - run: mkdir -p ~/.aws      - run: touch ~/.aws/config      - run: touch ~/.aws/credentials      - run: echo "[default]" > ~/.aws/config      - run: echo "region = ${AWS_REGION}" >> ~/.aws/config      - run: echo "[default]" > ~/.aws/credentials      - run: echo "aws_access_key_id = ${AWS_KEY}" >> ~/.aws/credentials      - run: echo "aws_secret_access_key = ${AWS_SECRET}" >> ~/.aws/credentials      - run: mkdir downloads && cd downloads && curl "https://awscli.amazonaws.com/awscli-exe-linux-x86_64.zip" -o "awscliv2.zip" && unzip awscliv2.zip      - run: cd downloads && sudo ./aws/install      # CDK setup      - run: pip install --user poetry      - run: cd static-site-cdk && poetry config virtualenvs.create false --local      - run: cd static-site-cdk && poetry install      # Synth & Deploy      - run:          name: Synth          command: cd static-site-cdk && cdk synth      - run:          name: Deploy          command: cd static-site-cdk && cdk deploy --require-approval never      - run: rm -rf ~/.aws/credentials
Although the YAML above is CircleCI specific configuration, any CI script can be used. The first two jobs simply run the tests and build the final distribution.
In the last “deployment” step we clone the Python CDK code, install the dependencies and then finally run the CDK commands pointing it to our built code (built in the last step).
All you need to do here is change the environment variables to your Domain, AWS account Id and AWS region. For authentication you also need to set the AWS_KEY and AWS_SECRET for the IAM user (we created above) as CI secrets.
With a few changes in the YAML configuration and the right CI setup, we can deploy any directory containing HTML+CSS+JS to the powerful AWS CDN. Now you can change your code anytime and the CI setup will deploy it to CloudFront.
That’s it! In the future I will try and build this for AWS Lambda & DynamoDB so any developer in the world can deploy a simple dynamic web application without paying close to nothing to any hosting provider.